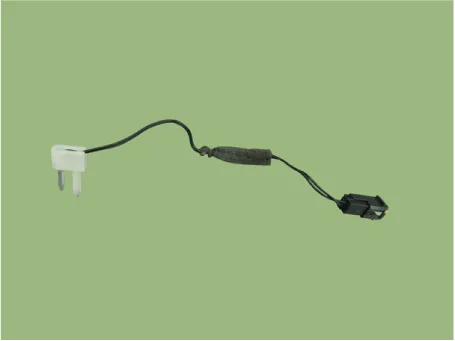
Hyundai Palisade (LX2): Air conditioning System / Evaporator Temperature Sensor
Description and operation
| Description |
Repair procedures
| Inspection |
| 1. |
Turn the ignition switch OFF.
|
| 2. |
Disconnect the evaporator temperature sensor connector.
|
| 3. |
Measure resistance between terminal "+" and "-" of the evaporator temperature
sensor.
Specification
|

| 4. |
Connect the evaporator temperature sensor connector.
|
| 5. |
Run the engine and turn the A/C switch ON, then measure the voltage
between the terminals of the harness connector.
|
| Replacement |
| 1. |
Disconnect the negative (-) battery terminal.
|
| 2. |
Loosen the mounting screws and remove the evaporator core cover (A).
|

| 3. |
Separate the evaporator temperature sensor (A) from the evaporator core.
|

| 4. |
Install in the reverse order of removal.
|
Description and operation Description The A/C Pressure Transducer (APT) converts the pressure value of high pressure line into voltage value after measuring it.
Description and operation Description The In-car air temperature sensor is built in the heater & A/C control unit. The sensor consists of a thermistor that measures the inside temperature.
Other information:
Hyundai Palisade (LX2) 2020-2026 Service Manual: Heater Unit
Components and components location Component Location 1. Heater unit assembly Components 1. Heater core assembly 2. Heater unit pad 3. Heater lower cover 4. Drain hose 5.
Hyundai Palisade (LX2) 2020-2026 Service Manual: Schematic diagrams
Trouble Symptom Charts Component Parts and Function Outline Component part Function Cruise Control Switch Input the set speed and distance to the SCC ECU. Instrument Cluster Display various information inputted from SCC.
Categories
- Manuals Home
- Hyundai Palisade Owners Manual
- Hyundai Palisade Service Manual
- Rear Heater Unit
- Maintenance
- Convenient Features of Your Vehicle
- New on site
- Most important about car
